Looks like good fun. Spanner candy! I always enjoy putting a nice clean engine back together.
A propos of nothing more than idle curiosity when enlarging the photo of the head it appears that the pushrod seals (dished washer, rubber collar & flat washer) are still in place. You will of course be replacing the rubber collars?
The pattern rubber collars soon become as hard and brittle as Bakelite with heat which leads to oil leaks. I and many others have used a suitable number of Nitrile 'O' rings instead which don't harden and work very well.
Photo of suggested 'O' rings and the original rubber collars.....
In this photo the (greased) 'O' rings are in place but the essential dished washer isn't shown but will be fitted.
1954 18S preservation project (with lots of pictures)
-
SPRIDDLER
- Member
- Posts: 8558
- Joined: Wed Sep 01, 2004 1:00 am
- Location: WEST SUSSEX UK
Re: My new restoration project (with lots of pictures)
You do not have the required permissions to view the files attached to this post.
'There is a tide in the affairs of men
Which taken at the flood............'
Which taken at the flood............'
-
cfaber

- Posts: 346
- Joined: Mon Nov 20, 2017 5:37 am
- Location: USA, Colorado
- Contact:
Re: My new restoration project (with lots of pictures)
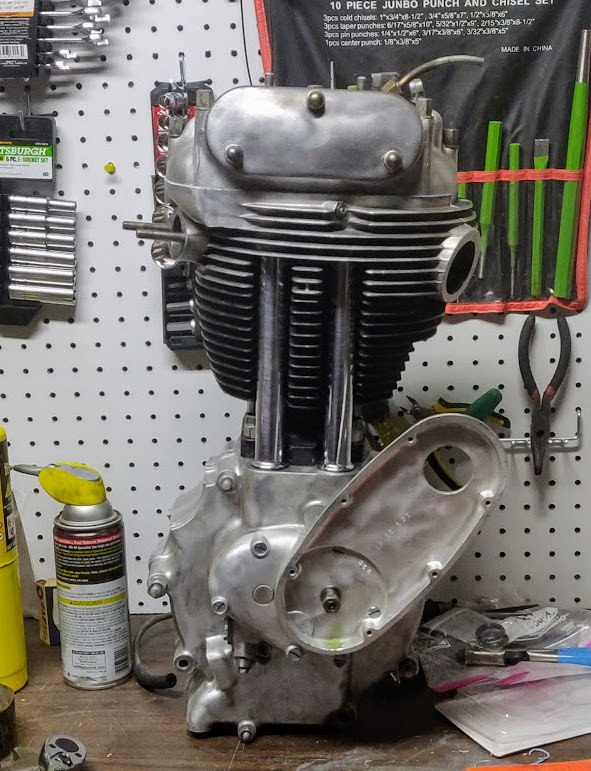
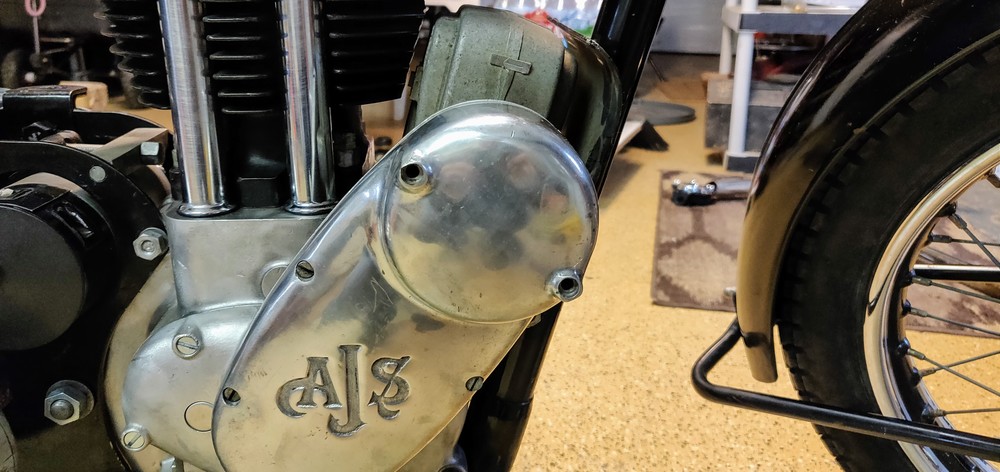
Yeah, I have the seals ready and may try the oring trick, in fact you can see them (upper right corner of the work bench photo)
Fix it until it's broken!
Otherwise how will
anything get done?
Otherwise how will
anything get done?
-
cfaber
- Posts: 346
- Joined: Mon Nov 20, 2017 5:37 am
- Location: USA, Colorado
- Contact:
Re: My new restoration project (with lots of pictures)
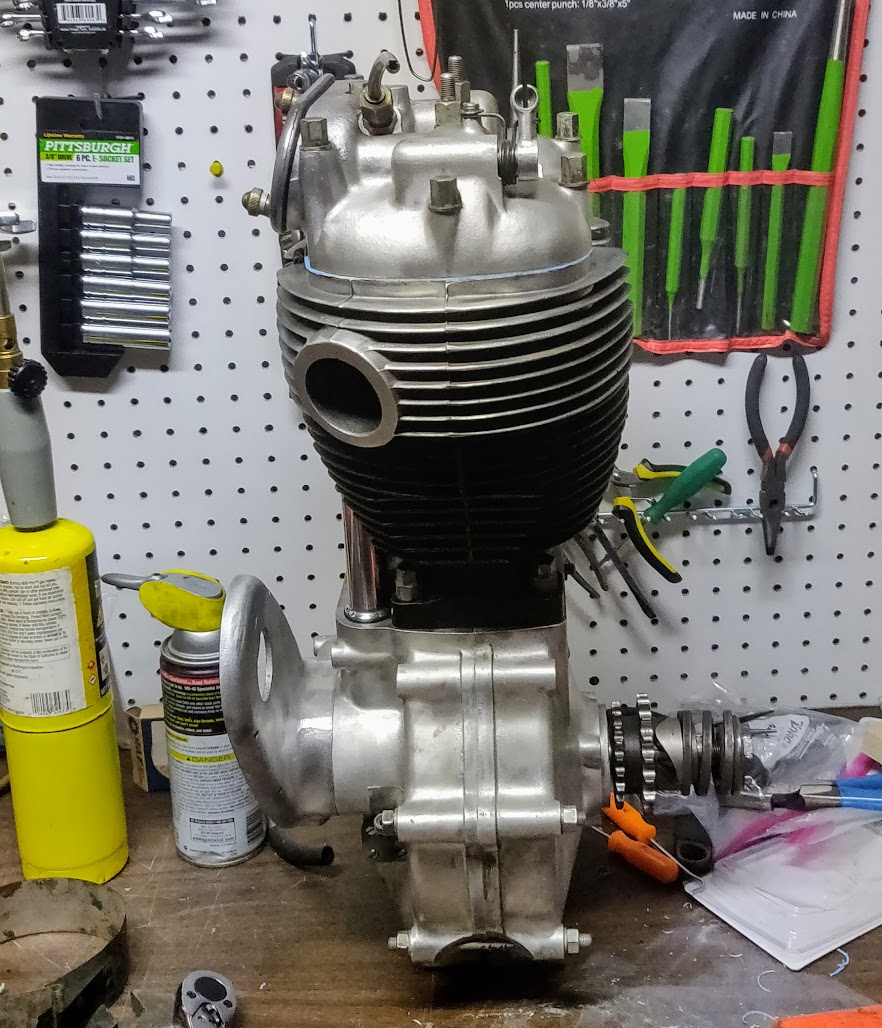
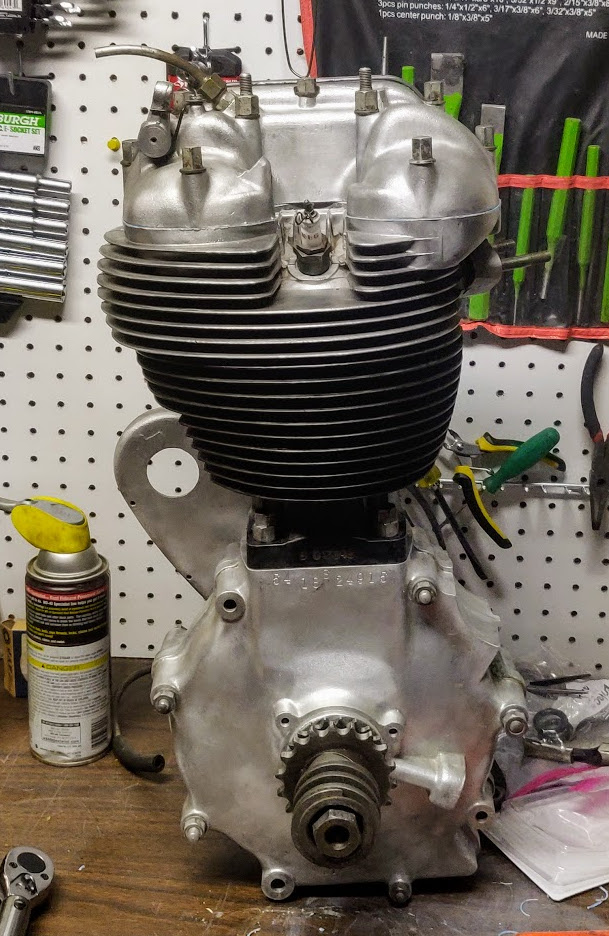
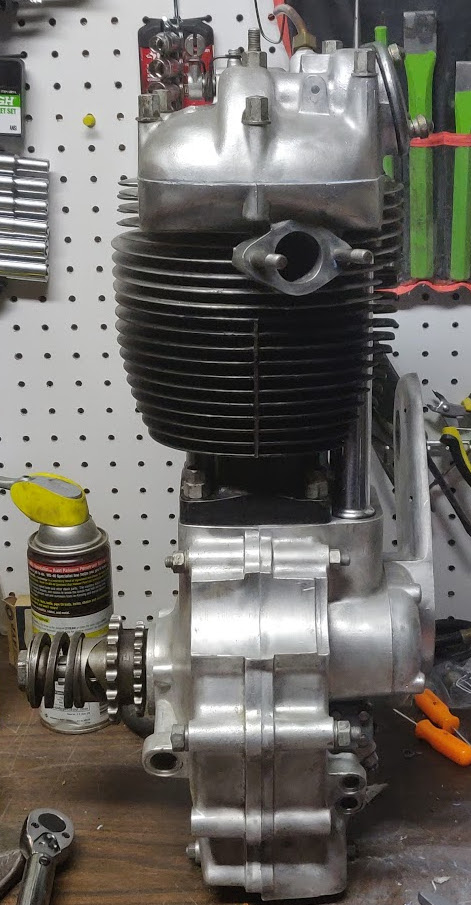
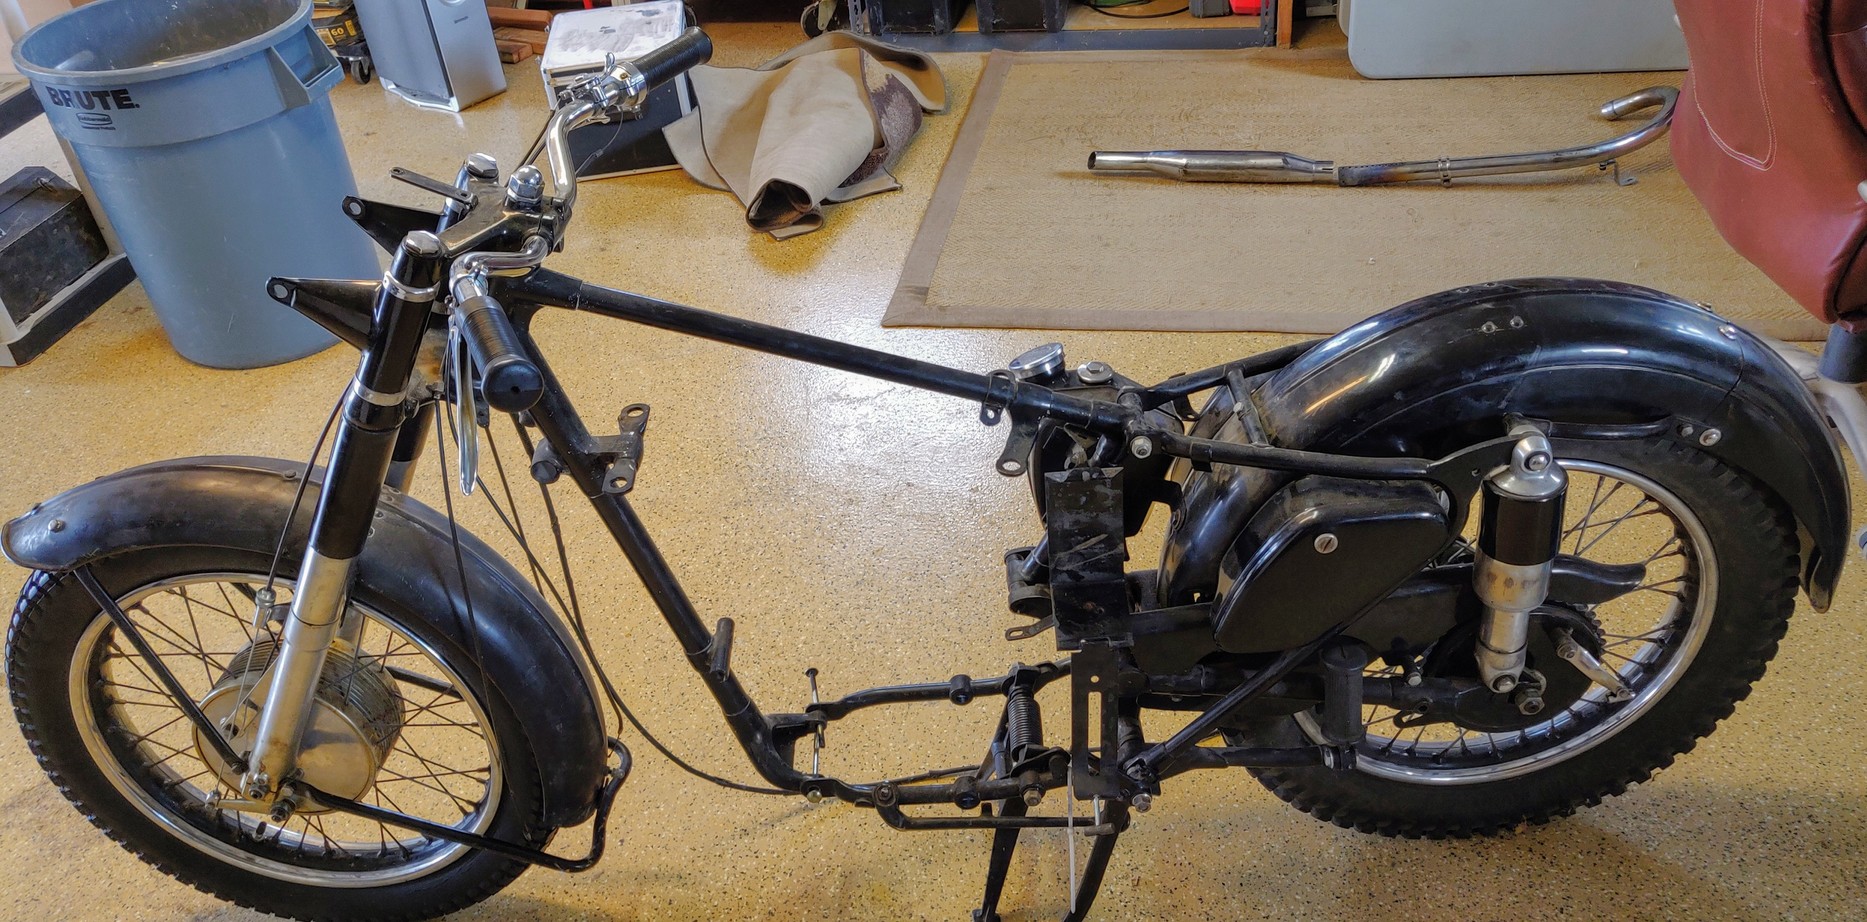
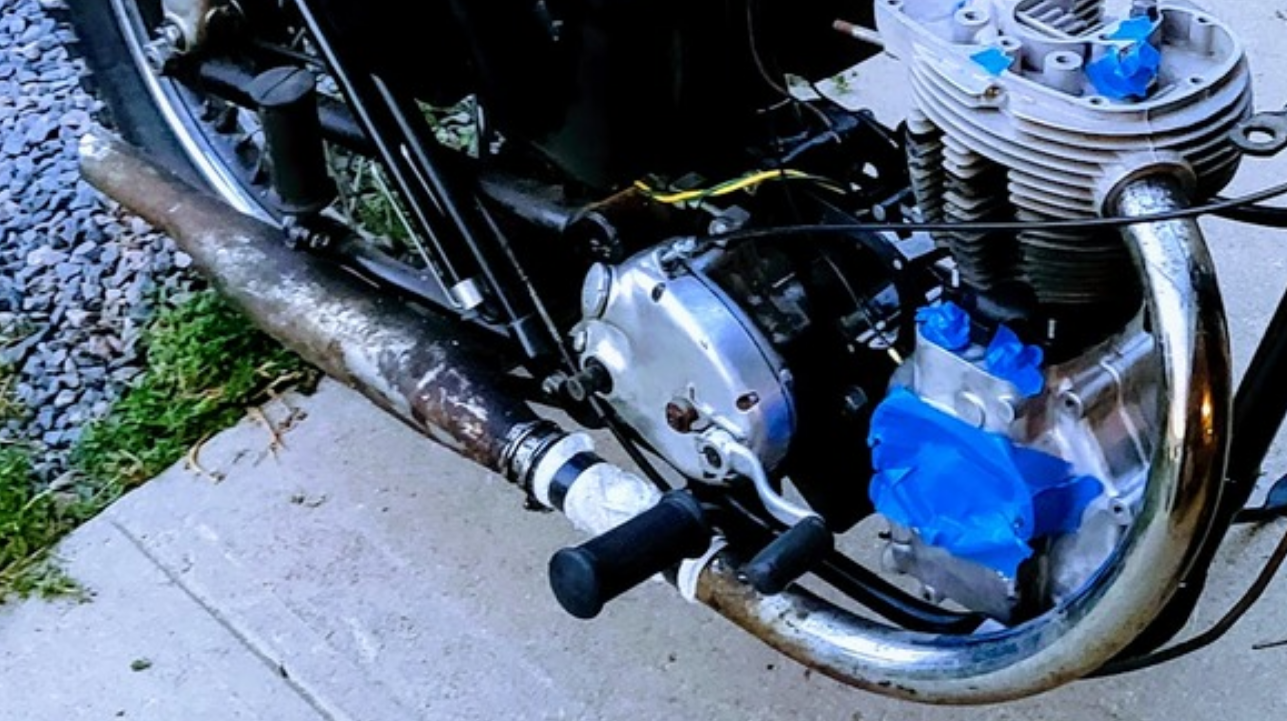
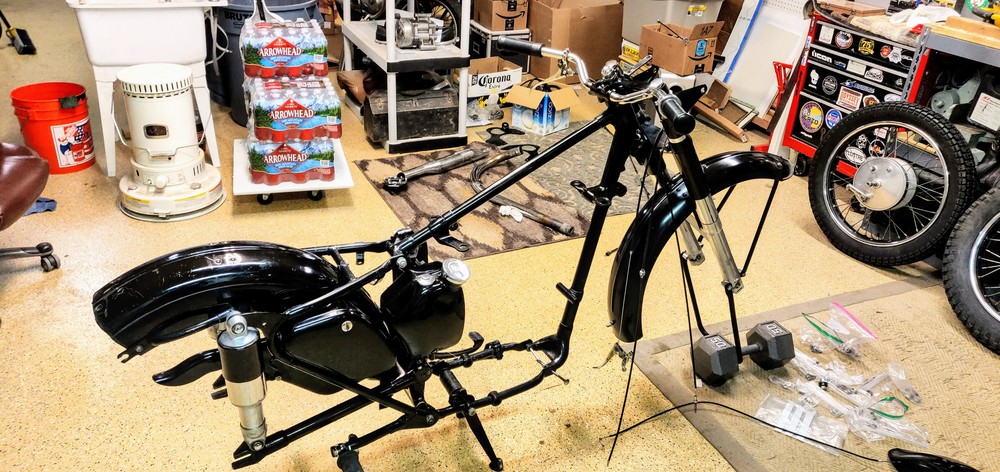
Over the last few weeks I've finally found some time to work on the bike. I've got the engine back together
I also started taking the bike back apart so as to do a thorough cleaning as well as polish the paint back up as much as I can.
So part of that is to clean up the exhaust system. It's got 60 year old bentonite clay mixed with oil baked on it in layers and I suspect there were a lot of oil burn before this engine went quiet in the 1960's.
Here's what It use to look like:
and after some cleaning
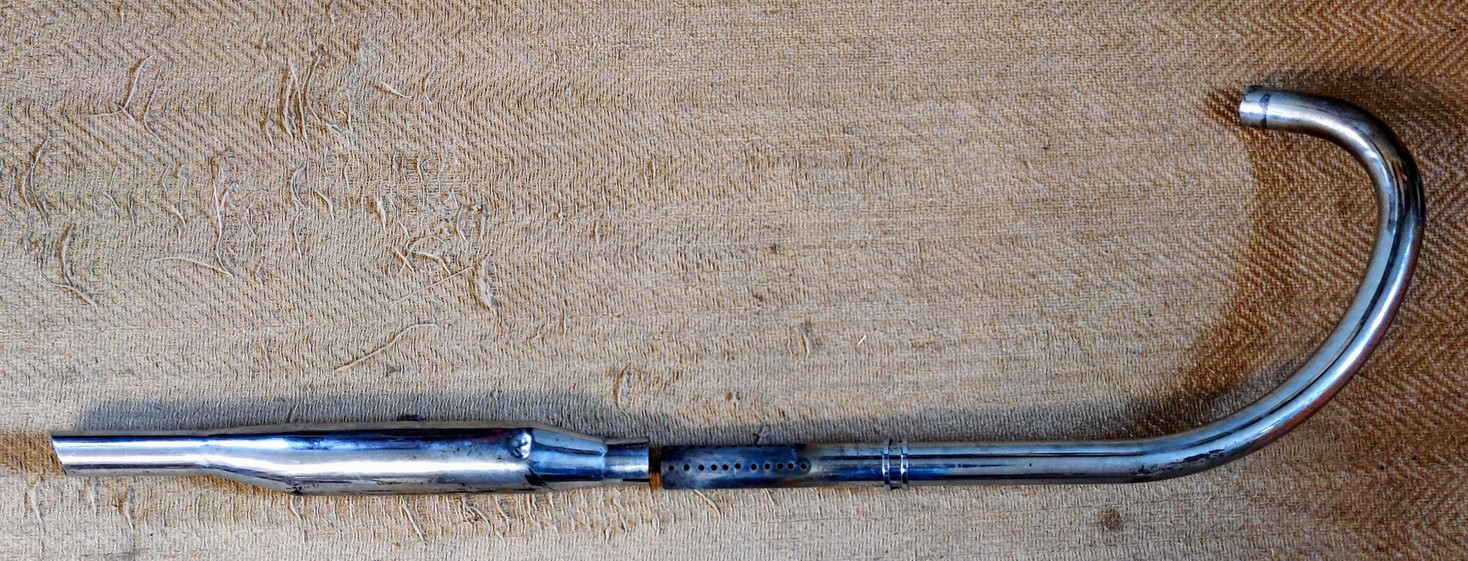
I still need to deal with some rust but for the most part it's a lot better than what I had. I'm also going to have to deal with the band clamp. It's partially broken on one side, presumably from whatever dented and scratched up the system to begin with.
So next I'll see if I can just tack the broken clamp together, otherwise I'll have to try and find one that matches this one, with the two straps on a single bolt. I checked fleabay but so far all I found was the solid strap design from India.
I also started taking the bike back apart so as to do a thorough cleaning as well as polish the paint back up as much as I can.
So part of that is to clean up the exhaust system. It's got 60 year old bentonite clay mixed with oil baked on it in layers and I suspect there were a lot of oil burn before this engine went quiet in the 1960's.
Here's what It use to look like:
and after some cleaning
I still need to deal with some rust but for the most part it's a lot better than what I had. I'm also going to have to deal with the band clamp. It's partially broken on one side, presumably from whatever dented and scratched up the system to begin with.
So next I'll see if I can just tack the broken clamp together, otherwise I'll have to try and find one that matches this one, with the two straps on a single bolt. I checked fleabay but so far all I found was the solid strap design from India.
Fix it until it's broken!
Otherwise how will
anything get done?
Otherwise how will
anything get done?
-
Group Leader

- Member
- Posts: 538
- Joined: Tue Nov 29, 2005 8:51 pm
- Location: Herts UK
Re: My new restoration project (with lots of pictures)
Ah, nice photograph of the installation, thanks Spriddler.SPRIDDLER wrote:Looks like good fun. Spanner candy! I always enjoy putting a nice clean engine back together.
You will of course be replacing the rubber collars?
The pattern rubber collars soon become as hard and brittle as Bakelite with heat which leads to oil leaks. I and many others have used a suitable number of Nitrile 'O' rings instead which don't harden and work very well.
Photo of suggested 'O' rings and the original rubber collars.....
I have the O rings, I just need to build up sufficient courage at some point to whip the head off! But the engine runs, and I have so much fun on my only bike.
Maybe I need another to allow for workshop visits?
Very nice project cfaber, looks great!
Alan
1953 AJS 16MS, 1939 BSA 250 and a 1/3 scale Sopwith Triplane but that's another story ..... 
-
cfaber
- Posts: 346
- Joined: Mon Nov 20, 2017 5:37 am
- Location: USA, Colorado
- Contact:
Re: My new restoration project (with lots of pictures)
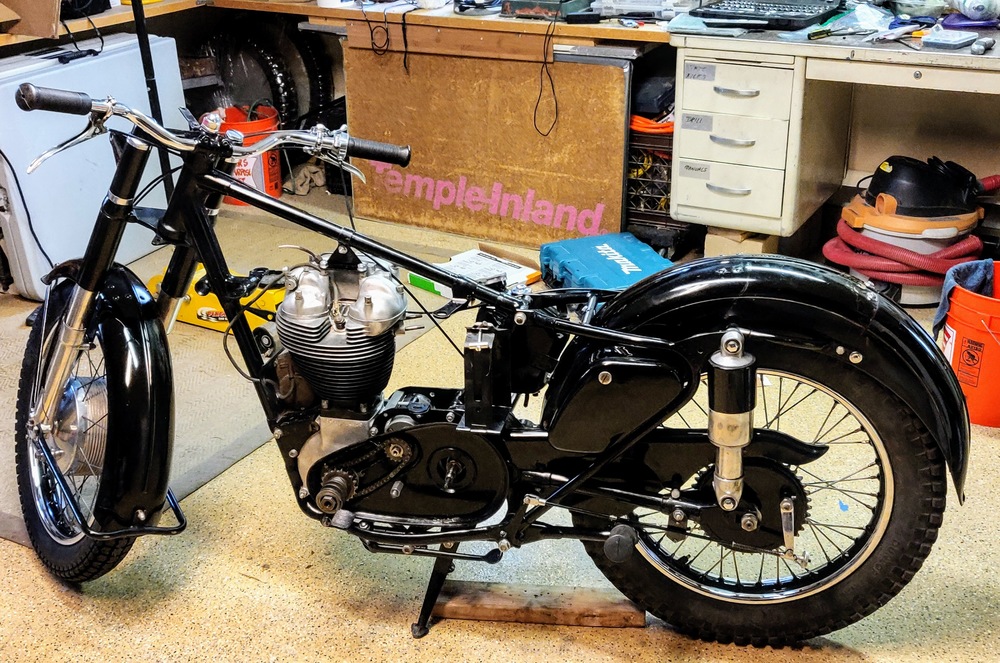
It's finally warmed up and I'm finally feeling a little better so the the bike got a degrease and bath
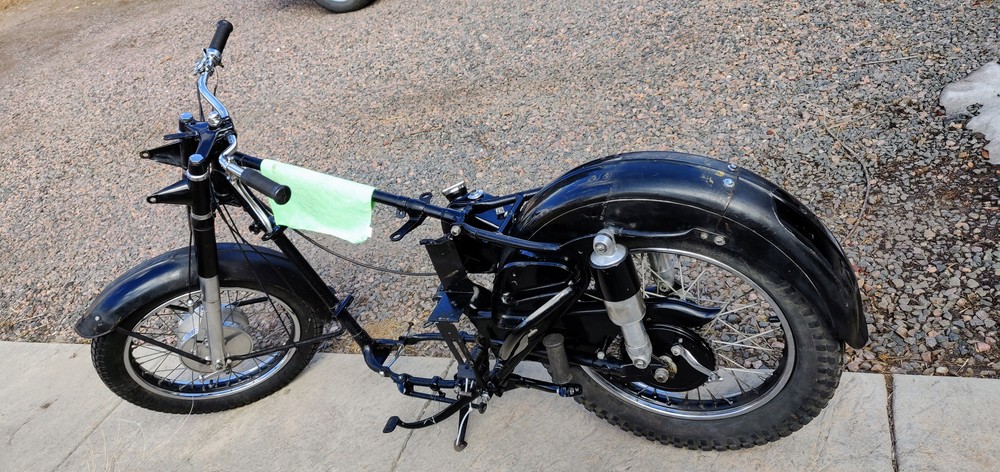
Looks a lot better, next I decided to see how well this NuFinish stuff works, this is what I'm working with over most of the bike
and here's what I came out with after a few seconds of polishing
Looks 1000% better and retains the original paint nicely. With this success I rolled the bike back into the garage and stripped it down. After another cleaning to get the remaining oil and clay muck off the frame this is what I ended up with
So the frame is done and I'll move on to the rest of the bigger parts now
Fix it until it's broken!
Otherwise how will
anything get done?
Otherwise how will
anything get done?
-
SPRIDDLER
- Member
- Posts: 8558
- Joined: Wed Sep 01, 2004 1:00 am
- Location: WEST SUSSEX UK
Re: My new restoration project (with lots of pictures)
That has come up really well. You may be aware of this but I've read that the main reason for AMC acquiring the Sunbeam Motorcycle Company was to have access to their excellent stove enamelling expertise and process.
'There is a tide in the affairs of men
Which taken at the flood............'
Which taken at the flood............'
-
cfaber
- Posts: 346
- Joined: Mon Nov 20, 2017 5:37 am
- Location: USA, Colorado
- Contact:
Re: My new restoration project (with lots of pictures)
Yeah I was really pleasantly surprised how well this came out. My goal isn't to restore but to preserve and this foes a long way to not having to repaint. Can't wait to get to the remaining parts now that the frame has come out looking so greatSPRIDDLER wrote:That has come up really well. You may be aware of this but I've read that the main reason for AMC acquiring the Sunbeam Motorcycle Company was to have access to their excellent stove enamelling expertise and process.
Fix it until it's broken!
Otherwise how will
anything get done?
Otherwise how will
anything get done?
-
cfaber
- Posts: 346
- Joined: Mon Nov 20, 2017 5:37 am
- Location: USA, Colorado
- Contact:
Re: My new restoration project (with lots of pictures)
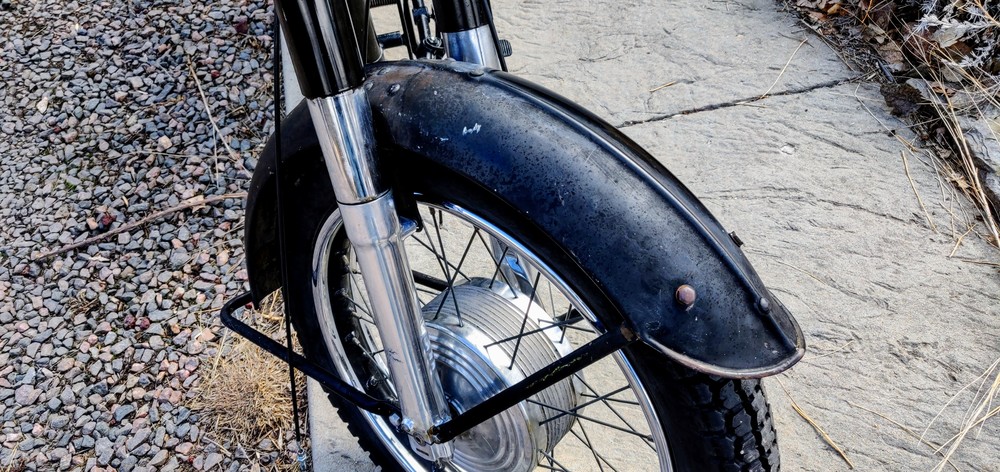
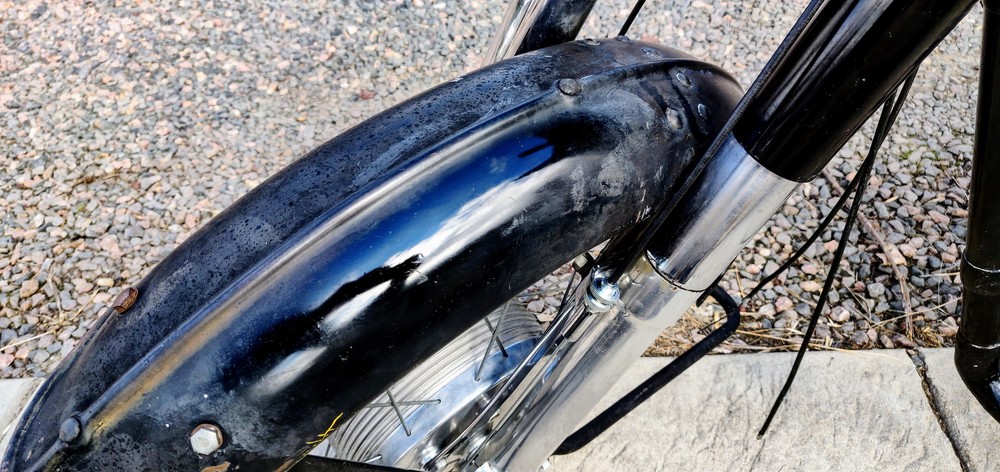
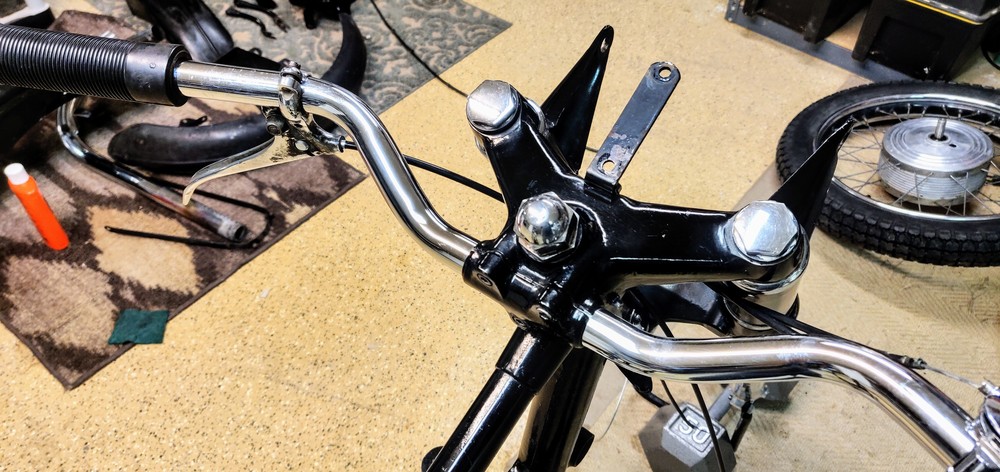
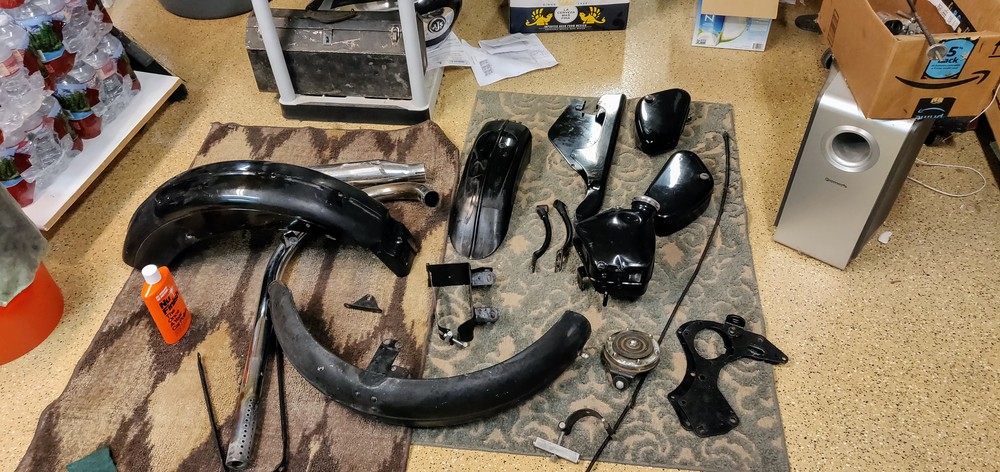
Had a few minutes tonight to get a few more parts washed, and got the front fender on
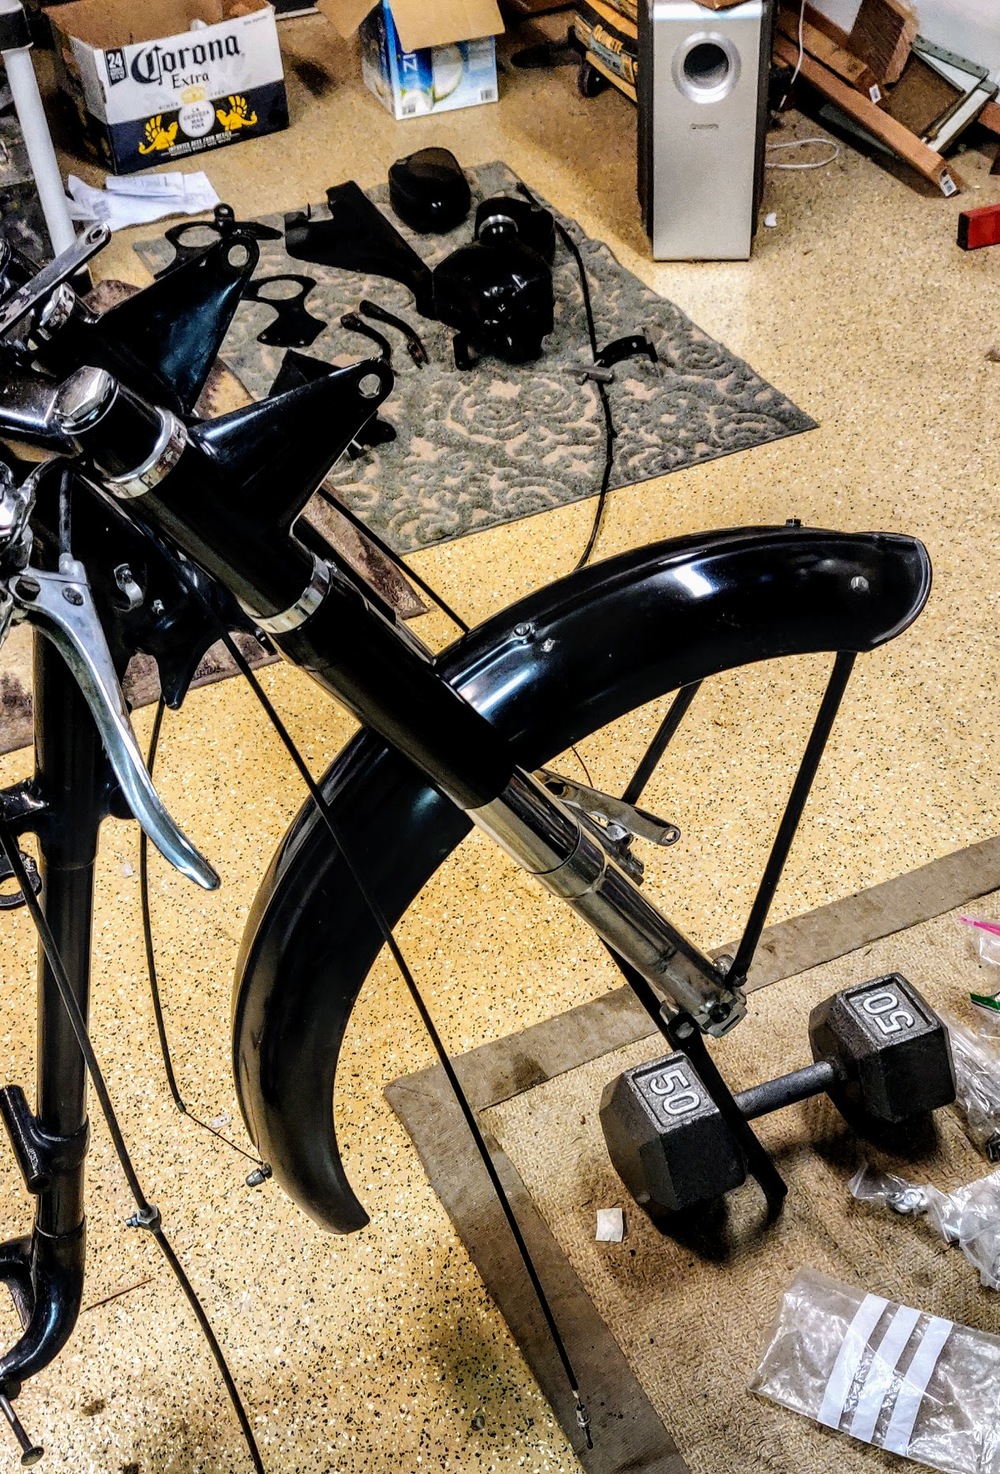
I think it came out pretty good, considering what I started with
I think it came out pretty good, considering what I started with
Fix it until it's broken!
Otherwise how will
anything get done?
Otherwise how will
anything get done?
-
cfaber
- Posts: 346
- Joined: Mon Nov 20, 2017 5:37 am
- Location: USA, Colorado
- Contact:
Re: My new restoration project (with lots of pictures)
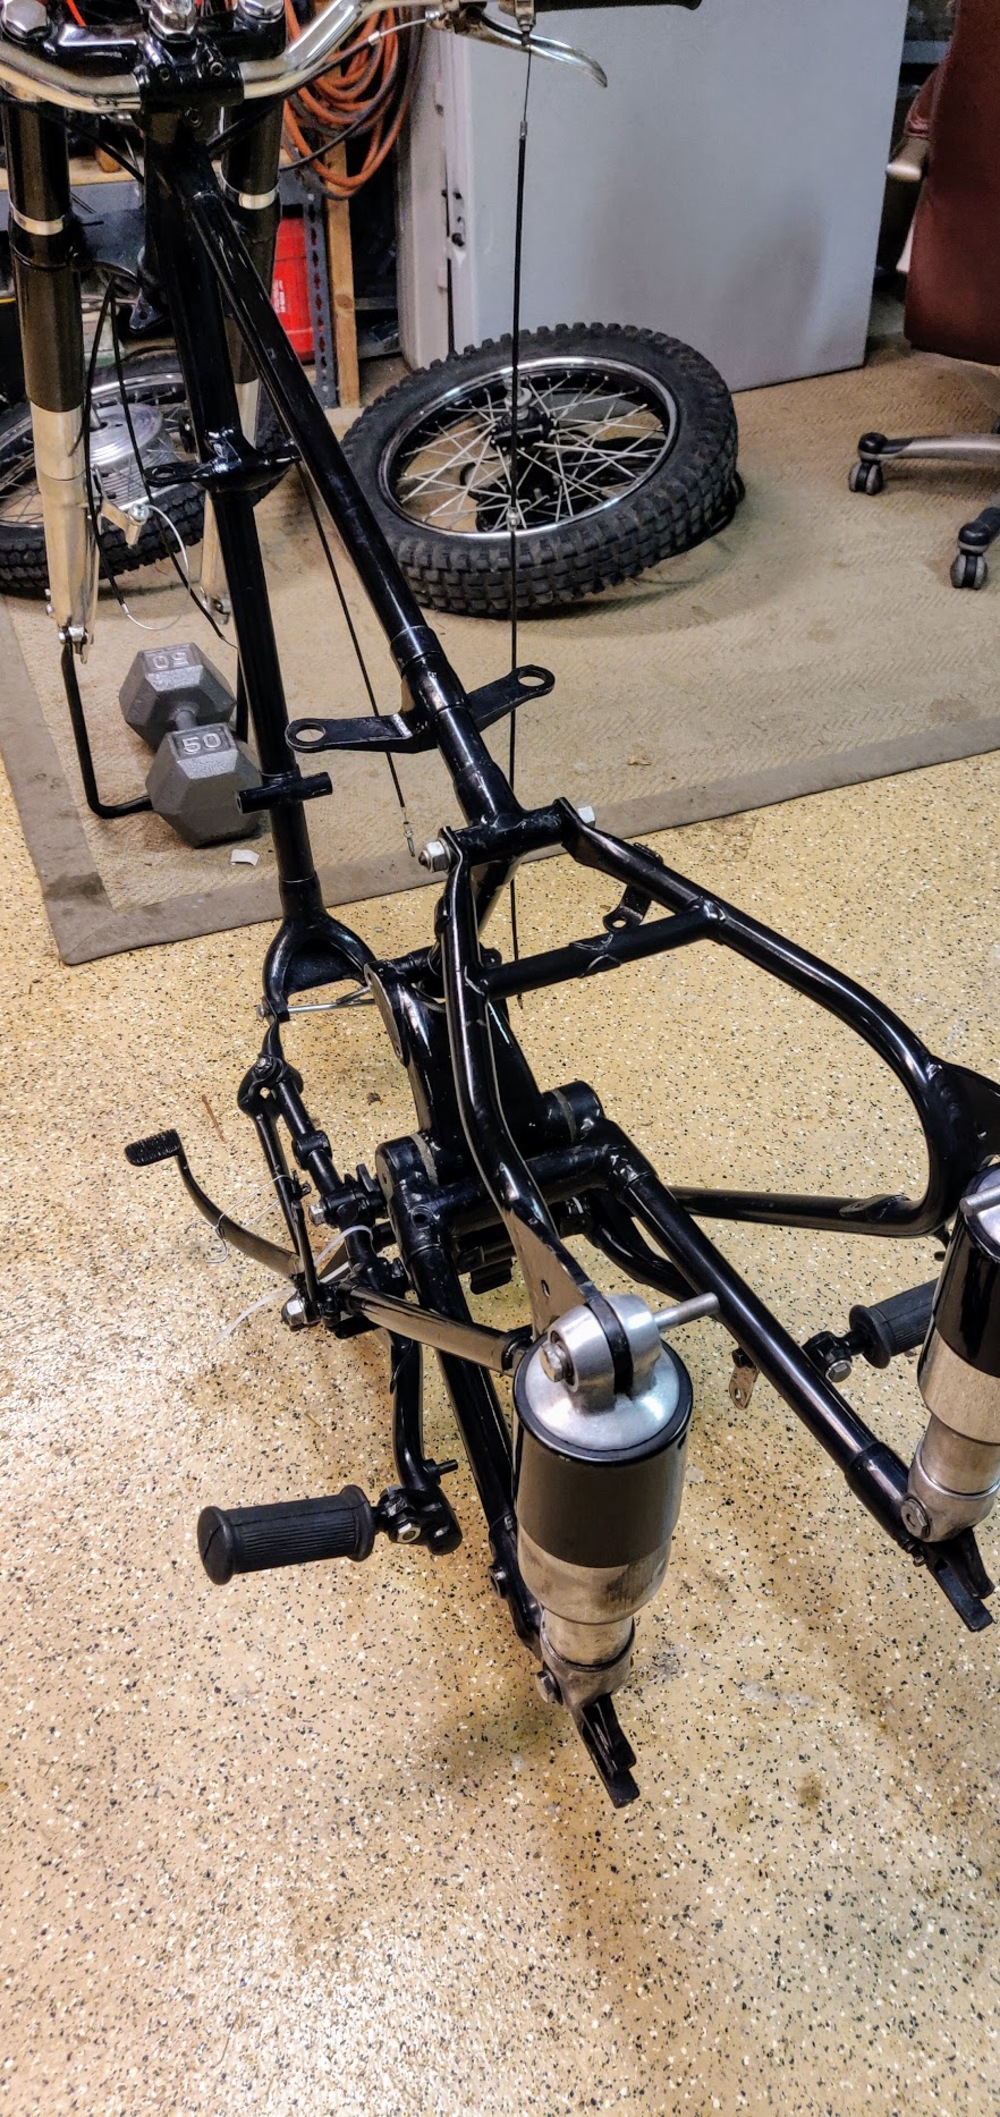
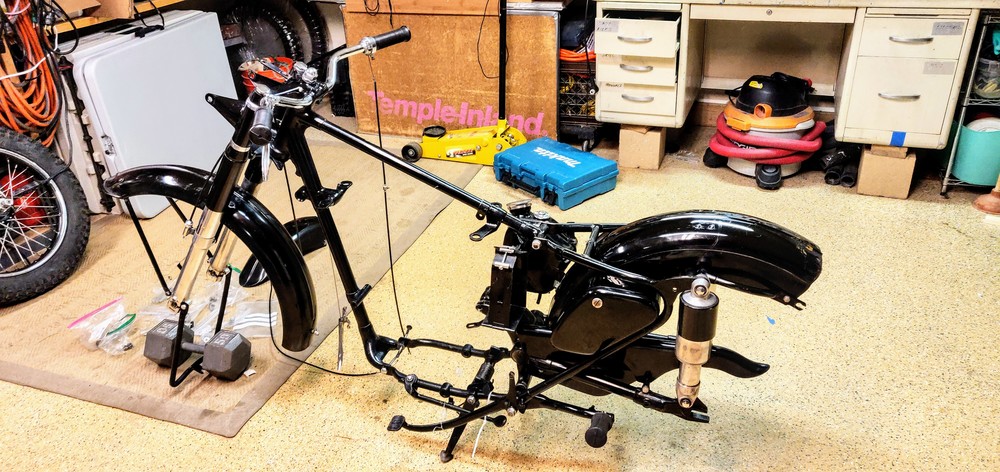
More work tonight. Got the back end put back together and polished up
Fix it until it's broken!
Otherwise how will
anything get done?
Otherwise how will
anything get done?
-
cfaber
- Posts: 346
- Joined: Mon Nov 20, 2017 5:37 am
- Location: USA, Colorado
- Contact:
Re: My new G80 restoration project (with lots of pictures)
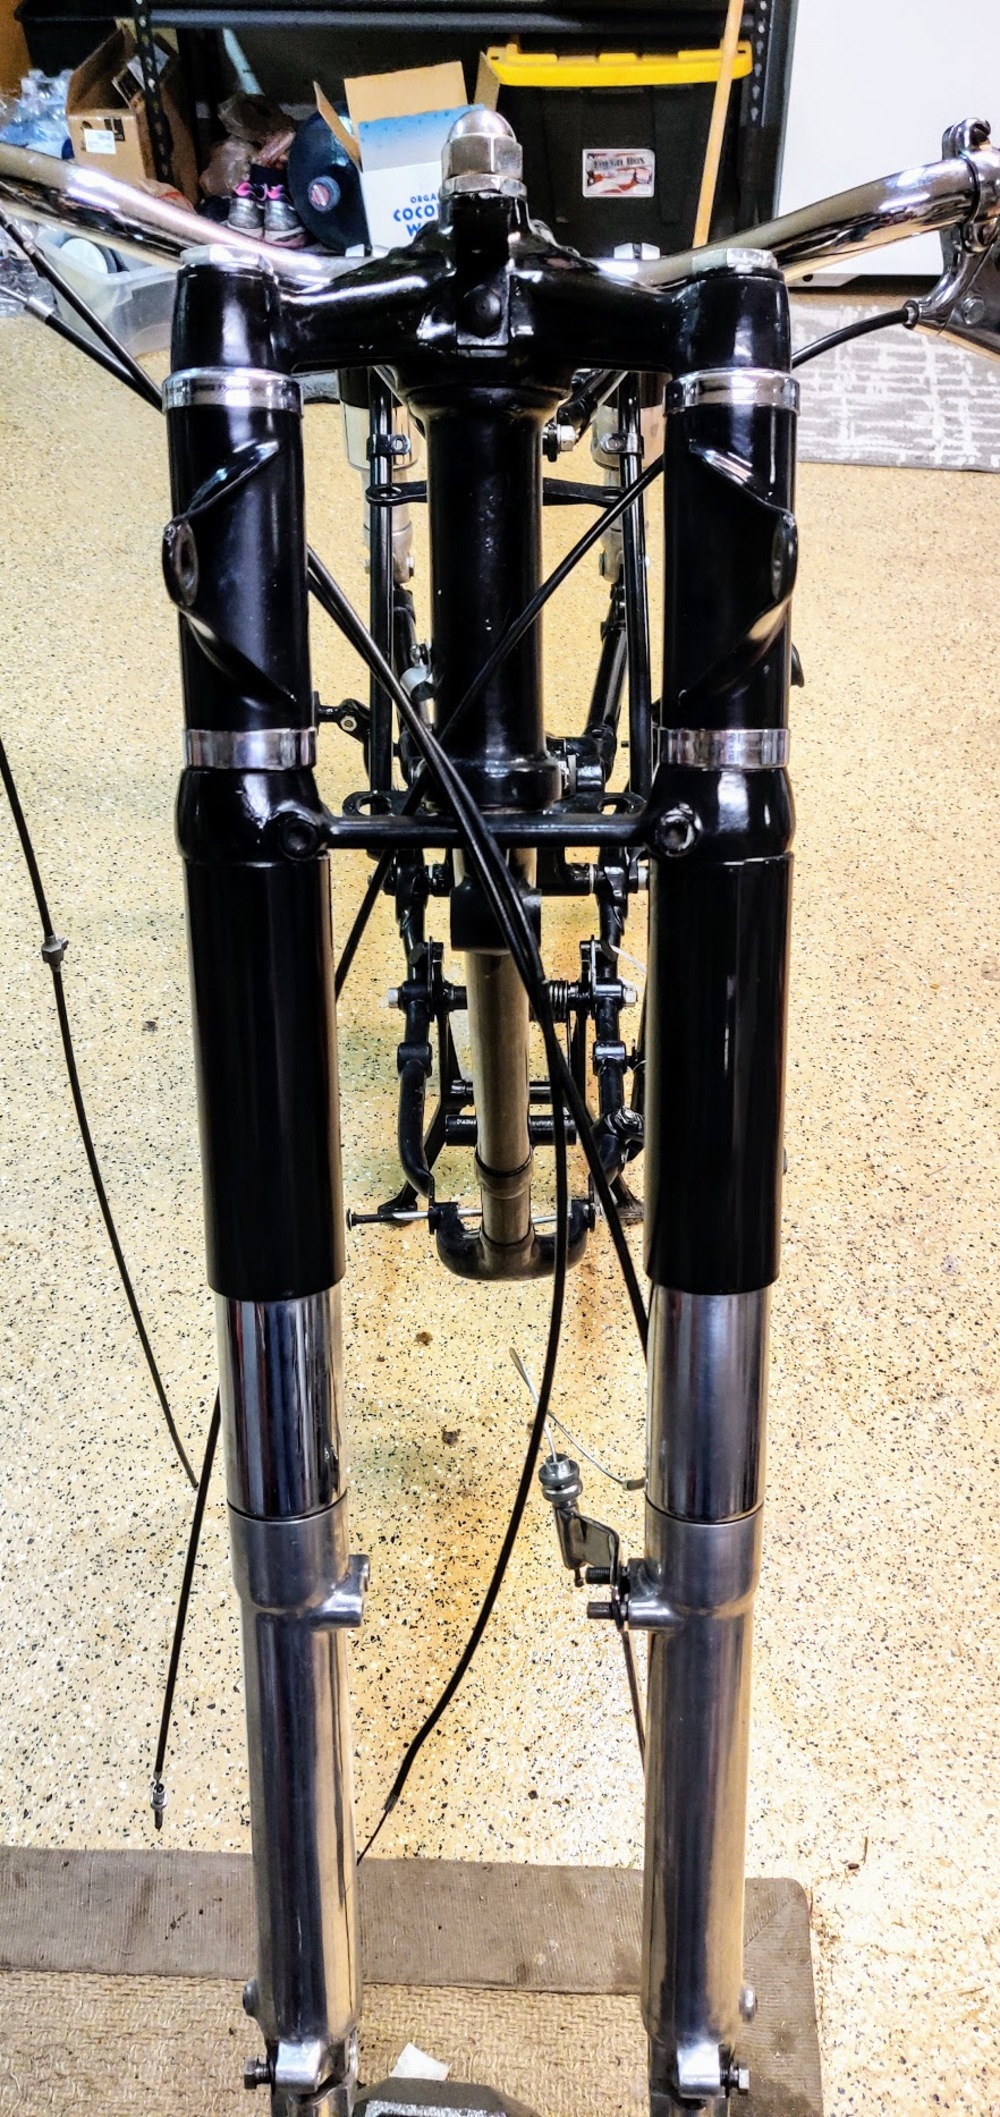
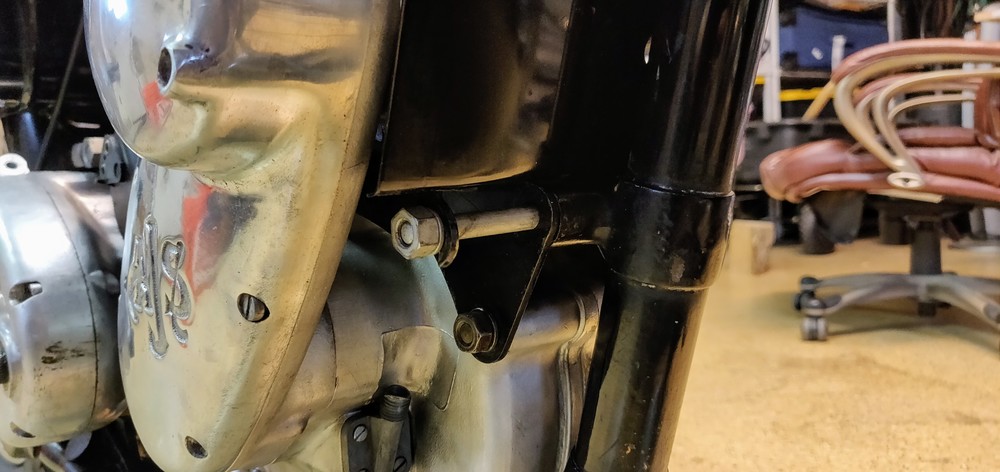
Lots of progress today. Got just about everything on the bike to discover I'm still missing some bolts and a few spacers 
Some I knew about others were a surprise. Also, putting this machine back together was a major PITA. It must have cost AMC a fortune in labor to service and build these bikes with the way they're designed. Like a reverse Japanese puzzle box

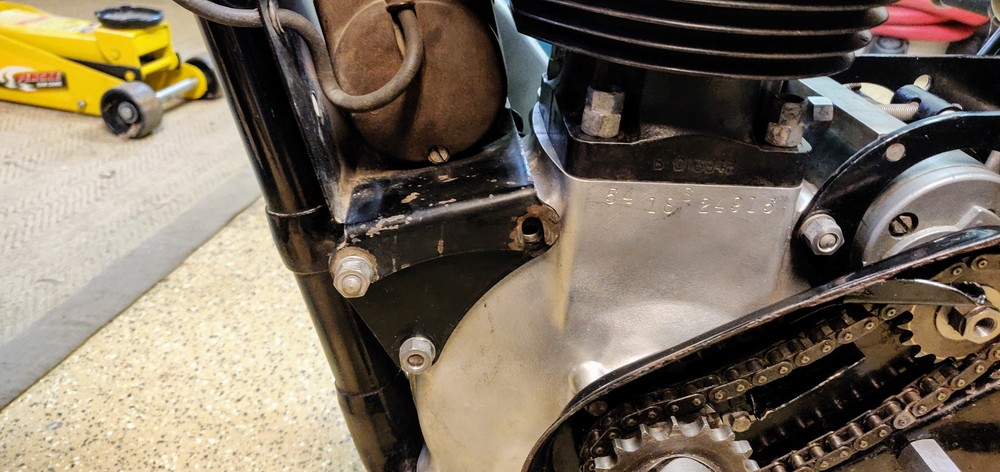
Missing these screws here, I thought I ordered them but apparently not.
Missing spacers
Missing the threaded rod, washers and spacer here, Also, it appears that the previous owner may have added a link to the dynamo drive chain, or possibly was using a different sprocket (I have 3 different ones that came with this bike) so I need to investigate further.
Does anyone off hand know what the stock sprocket was for these bikes?
Missing the bolt washer and nut for this
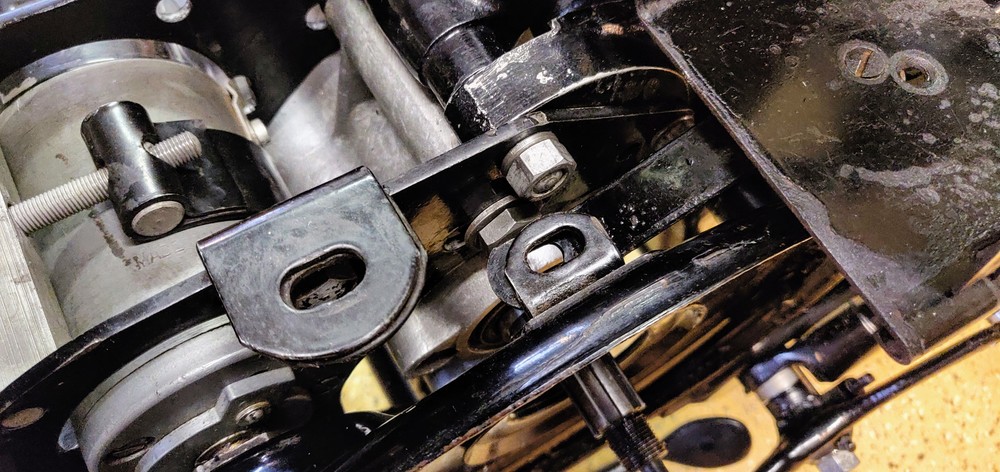
And the bolt washer and nut for the top engine mount, right now I've just got an SAE bolt in there until I get the right one.
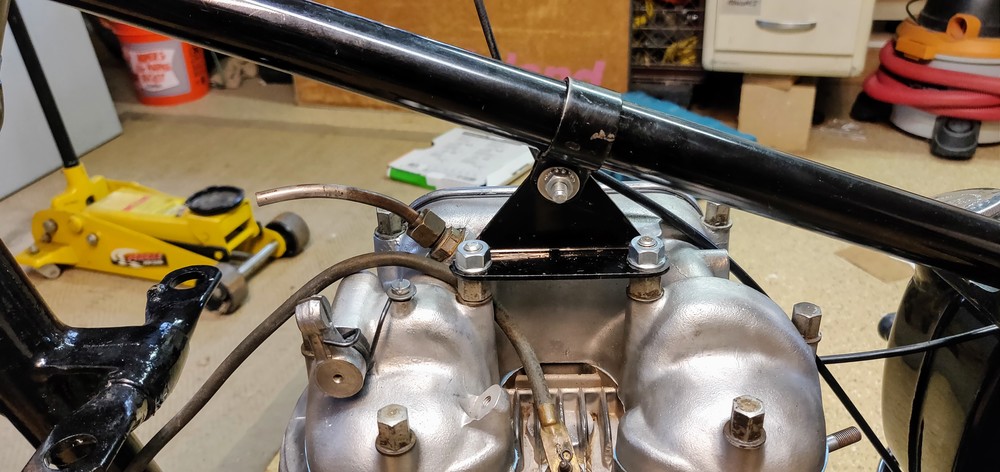
Also, does anyone know how the spark wire was routed?
Some I knew about others were a surprise. Also, putting this machine back together was a major PITA. It must have cost AMC a fortune in labor to service and build these bikes with the way they're designed. Like a reverse Japanese puzzle box
Missing these screws here, I thought I ordered them but apparently not.
Missing spacers
Missing the threaded rod, washers and spacer here, Also, it appears that the previous owner may have added a link to the dynamo drive chain, or possibly was using a different sprocket (I have 3 different ones that came with this bike) so I need to investigate further.
Does anyone off hand know what the stock sprocket was for these bikes?
Missing the bolt washer and nut for this
And the bolt washer and nut for the top engine mount, right now I've just got an SAE bolt in there until I get the right one.
Also, does anyone know how the spark wire was routed?
Fix it until it's broken!
Otherwise how will
anything get done?
Otherwise how will
anything get done?